




简单介绍:Gitea 是Go 语言开发、轻量开源自托管 Git 代码仓库,对标 GitLab/GitHub,适合企业内网私有化部署代码管理,资源占用远低于 GitLab。
官方网站:https://gitea.com/
下载地址:https://dl.gitea.com/gitea/
目前最新版本:https://dl.gitea.com/gitea/1.27.3/gitea-1.27.3-linux-amd64
中文文档站:https://docs.gitea.com/zh-cn/
下载安装包gitea-1.27.3-linux-amd64并上传到/data/soft目录
安装前准备:
1、防火墙配置
我这里使用的是Rocky-10.x系统,默认使用的是firewall作为防火墙
firewall-cmd --list-all #显示所有规则(含服务、端口、区域)
systemctl status firewalld #检查 firewalld 状态
#开放3000 2222 端口
firewall-cmd --permanent --add-port=3000/tcp
firewall-cmd --permanent --add-port=2222/tcp
firewall-cmd --reload #重新加载防火墙配置
2、关闭SELINUX
vi /etc/selinux/config
#SELINUX=enforcing #注释掉
#SELINUXTYPE=targeted #注释掉
SELINUX=disabled #增加
:wq! #保存退出
setenforce 0 #使配置立即生效
getenforce #查看 SELinux 当前运行模式
3、服务器安装 git 客户端
Gitea底层依赖系统的git命令来操作代码仓库,服务器上需要安装统git客户端
yum install git -y
git --version
安装Gitea
1、创建 git 用户
# 创建git系统运行用户,用于后台跑 gitea 进程,安全性更高
useradd -m git
2、创建完整目录结构
mkdir -p /data/server/gitea
mkdir -p /data/server/gitea/{bin,config,data,log}
chown -R git:git /data/server/gitea
chmod -R 755 /data/server/gitea/
3、拷贝安装包到/data/server/gitea/bin目录下
cd /data/soft
cp gitea-1.27.3-linux-amd64 /data/server/gitea/bin
mv /data/server/gitea/bin/gitea-1.27.3-linux-amd64 /data/server/gitea/bin/gitea
# 赋予执行权限
chmod +x /data/server/gitea/bin/gitea
# 校验版本
/data/server/gitea/bin/gitea --version
4、编写配置文件
vi /data/server/gitea/config/app.ini
[DEFAULT]
APP_NAME = 内网Gitea代码仓库
RUN_USER = git
RUN_MODE = prod
[database]
TYPE = sqlite3
# sqlite数据库文件路径,所有仓库数据都存在/data/server/gitea/data
PATH = /data/server/gitea/data/gitea.db
[server]
PROTOCOL = http
# HTTP_ADDR:服务监听地址,0.0.0.0 监听本机所有网卡(多IP服务器适用)
HTTP_ADDR = 0.0.0.0
HTTP_PORT = 3000
# ROOT_URL:对外展示的访问地址,用于页面链接、git克隆地址生成,不能写0.0.0.0
# 多IP服务器建议填写固定访问IP或者内网域名,示例:http://192.168.21.11:3000/
ROOT_URL = http://192.168.21.11:3000/
DISABLE_SSH = false
# Gitea内置SSH端口,用于git clone ssh协议,不要和系统22端口冲突
SSH_PORT = 2222
# 内置SSH服务监听端口
SSH_LISTEN_PORT = 2222
[security]
# 安装锁定开关,首次部署为false,网页安装完成后自动变为true,禁止再次进入安装页面
INSTALL_LOCK = false
# 网站加密密钥,网页安装完成自动生成,无需手动填写
SECRET_KEY =
# 内部通信token,网页安装完成自动生成,无需手动填写
INTERNAL_TOKEN =
PASSWORD_HASH_ALGO = pbkdf2
[service]
REGISTER_EMAIL_CONFIRM = false
# 关闭用户自助注册,只能管理员后台手动创建账号,符合内网安全基线
DISABLE_REGISTRATION = true
SHOW_REGISTRATION_BUTTON = false
:wq! #保存退出
#设置文件权限
chown git:git /data/server/gitea/config/app.ini
chmod 755 /data/server/gitea/config/app.ini
5、创建 systemd 服务
vi /etc/systemd/system/gitea.service
[Unit]
Description=Gitea Git Service
After=network.target
[Service]
Type=simple
User=git
Group=git
WorkingDirectory=/data/server/gitea
ExecStart=/data/server/gitea/bin/gitea web -c /data/server/gitea/config/app.ini
Restart=on-failure
RestartSec=5
StandardOutput=file:/data/server/gitea/log/gitea.log
StandardError=file:/data/server/gitea/log/gitea.log
[Install]
WantedBy=multi-user.target
:wq! #保存退出
systemctl daemon-reload
systemctl enable gitea
systemctl start gitea
systemctl stop gitea
systemctl restart gitea
systemctl status gitea
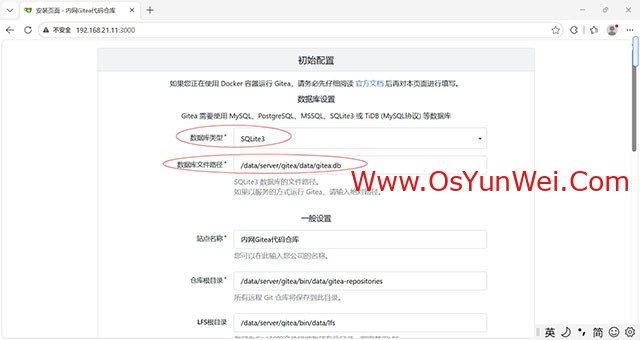
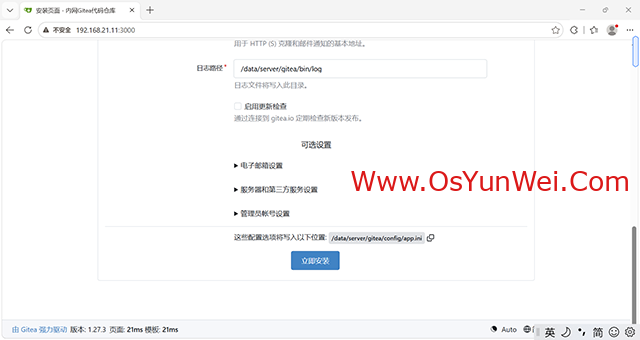
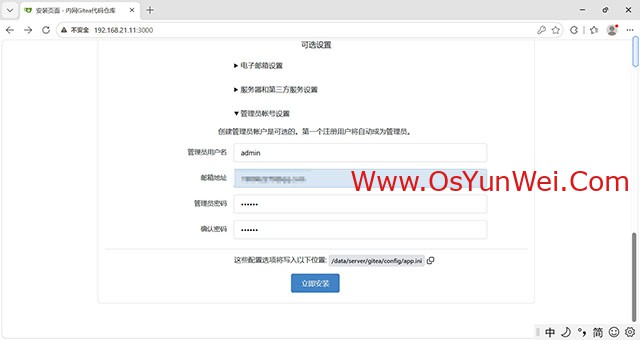
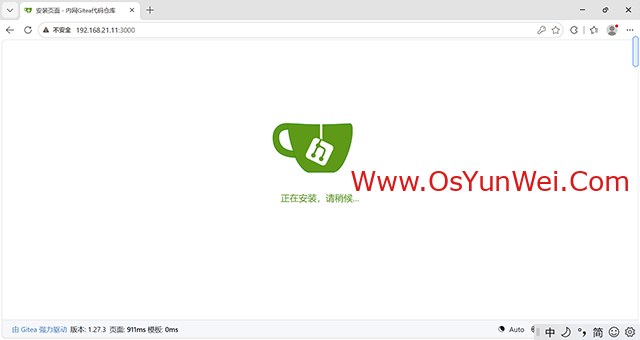
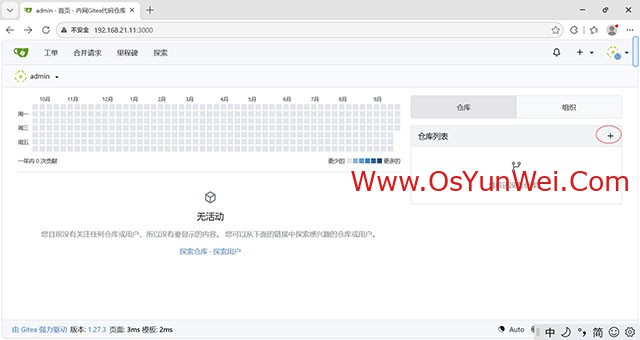
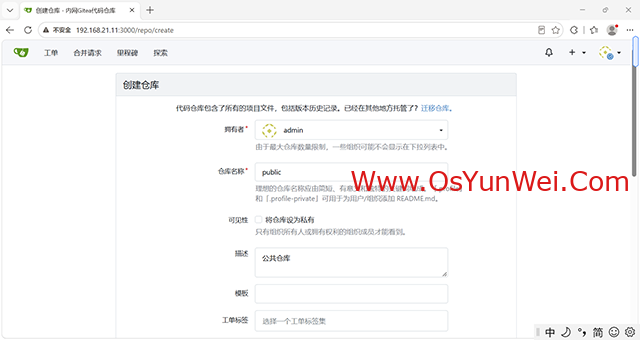
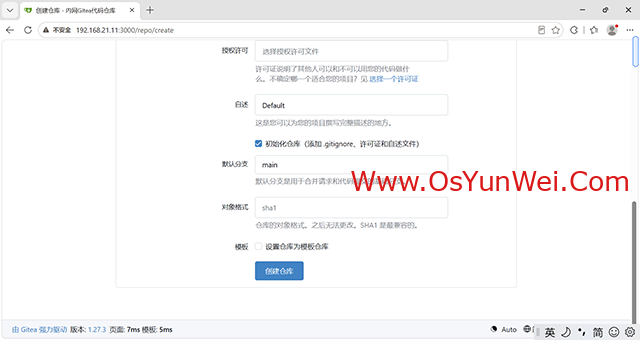
6、通过web页面配置安装gitea
浏览器打开:http://192.168.21.11:3000/

使用Gitea
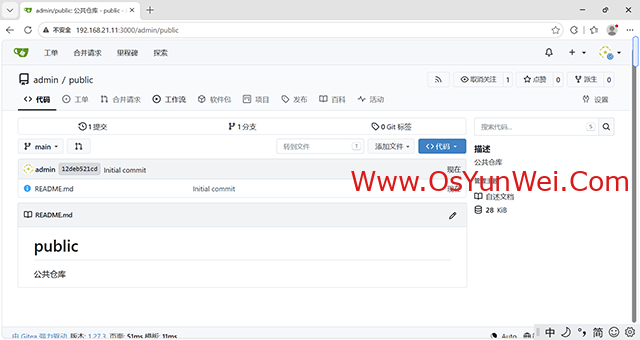
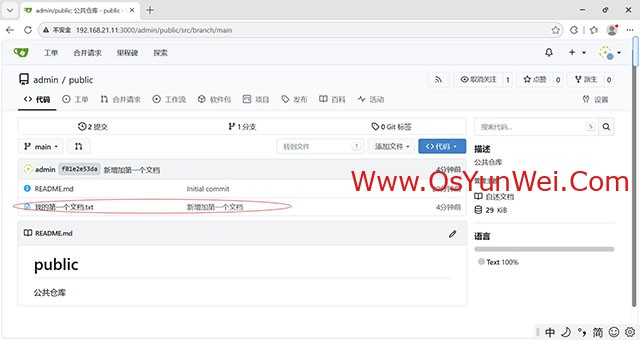
1、通过web页面访问代码仓库
仓库地址:http://192.168.21.11:3000/admin/public.git
2、从Windows下上传代码到仓库
安装 Git(没装就先装)
下载地址:https://git-scm.com/download/win
安装时全部默认选项下一步即可
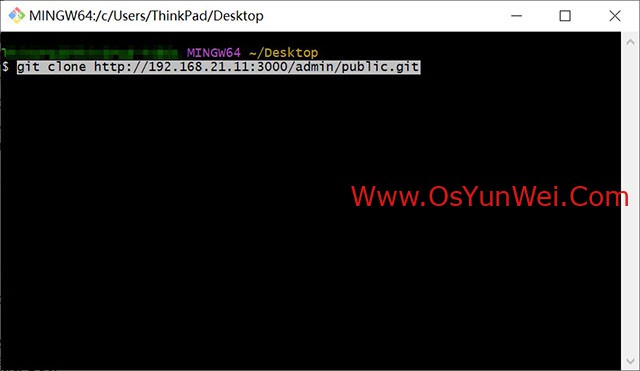
安装完成后,在桌面空白右键 → 选择 Git Bash Here 打开终端。
#克隆仓库(只需要执行一次)
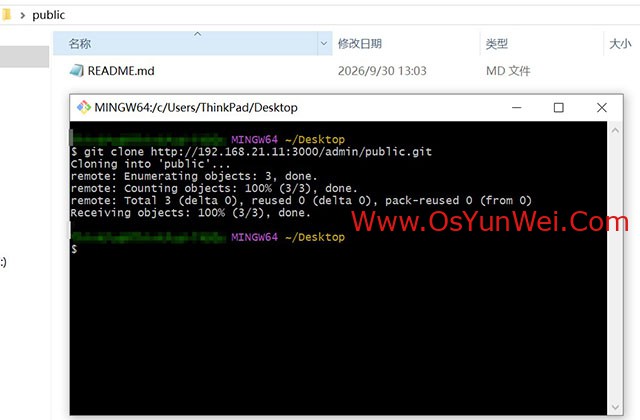
git clone http://192.168.21.11:3000/admin/public.git
执行完成后,桌面会生成 public 文件夹,就是本地仓库。
3、上传文件到仓库
把你要上传的脚本文档,放进 public 文件夹
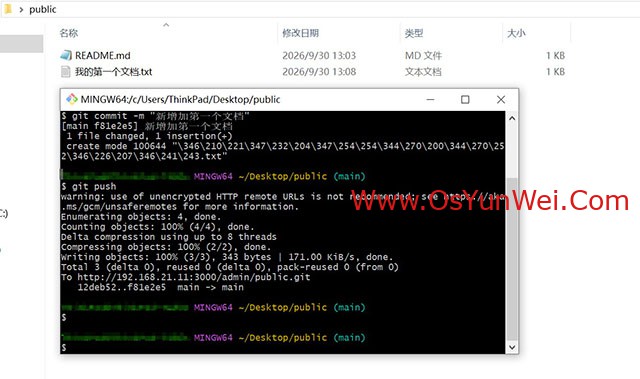
Git Bash 里执行:
cd public
git add . #把新增/修改的文件加入暂存
git commit -m "新增加第一个文档" #本地提交,写提交备注(描述本次改了什么)
git push #推送到Gitea远程仓库上传到服务器
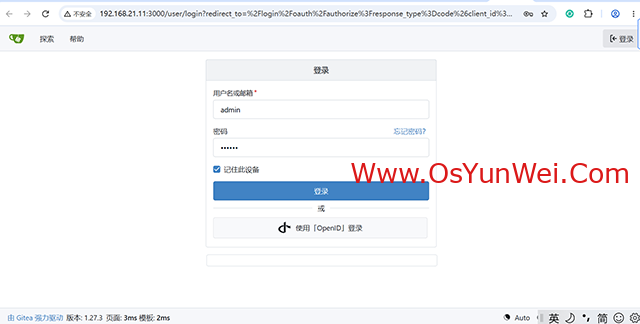
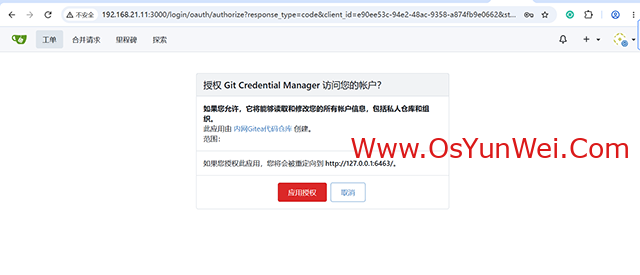
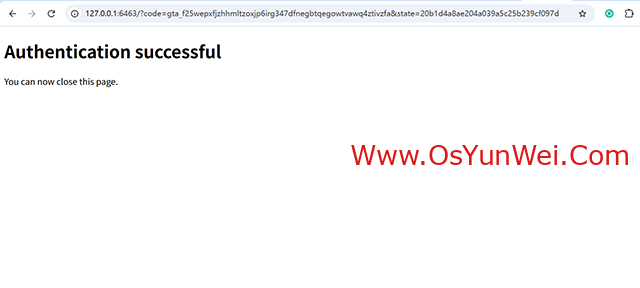
这是 Windows Git 凭证管理器弹出的登录窗口
登录成功后,凭证会缓存,后面再次 git push/pull 就不用重复输密码
至此,Linux下安装部署Gitea私有化代码托管平台完成。

 ②190706903 ③203744115