


一、Ubuntu Server 18.04.5 LTS系统安装
Ubuntu分为桌面版(desktop)和服务器版(Server),下面为大家介绍服务器版本Ubuntu Server 18.04.5 LTS的详细安装过程。
Ubuntu Server 18.04.5 LTS离线安装镜像下载地址:
http://cdimage.ubuntu.com/ubuntu/releases/18.04.5/release/ubuntu-18.04.5-server-amd64.iso
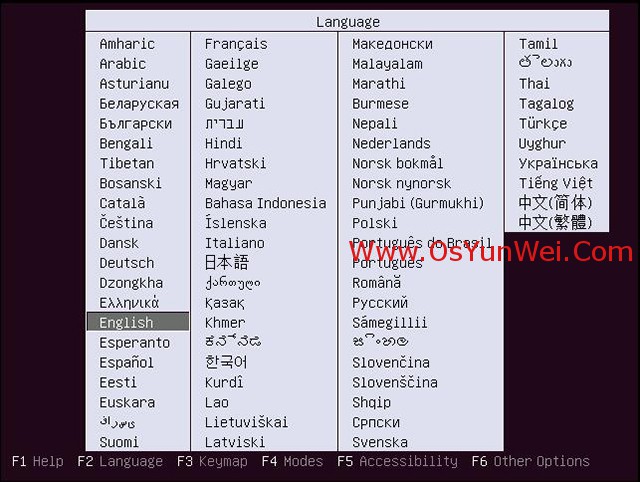
选择安装语言 English

选择第一项,安装Ubuntu服务器版

选择安装过程中使用的语言,也是系统安装完后使用的默认语言 English
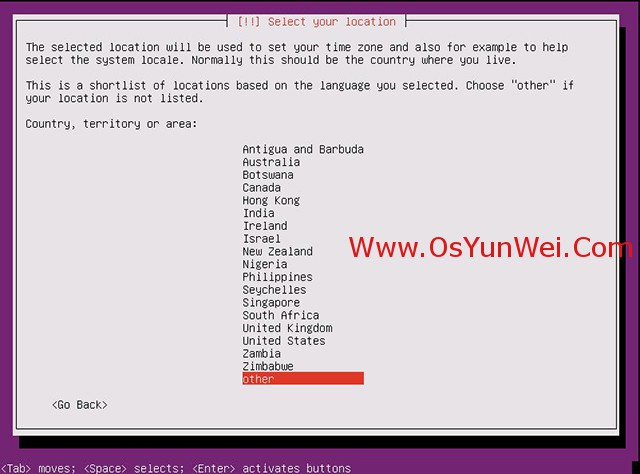
选择地区,other
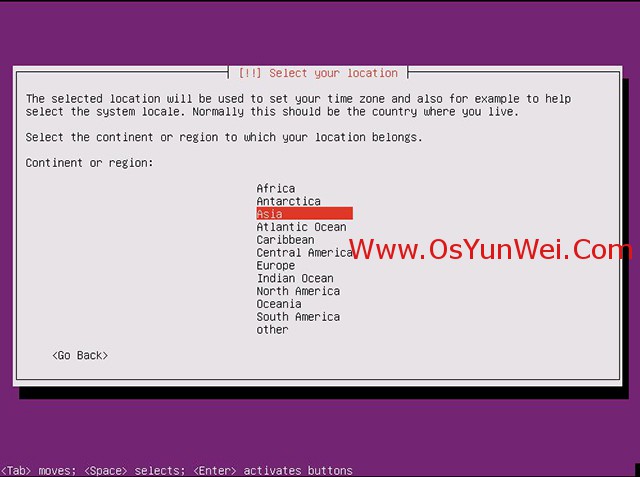
再选择Asia
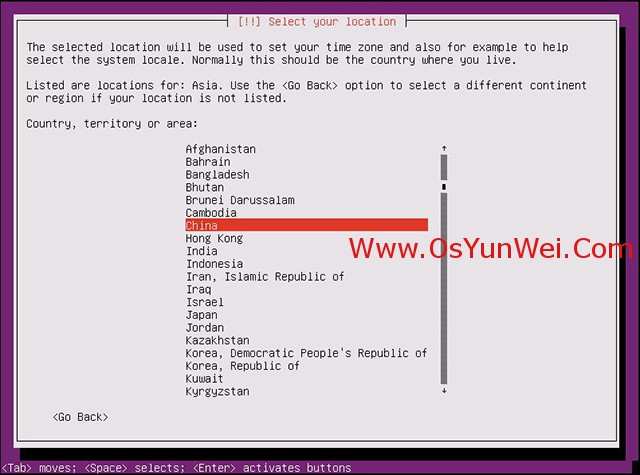
选择China
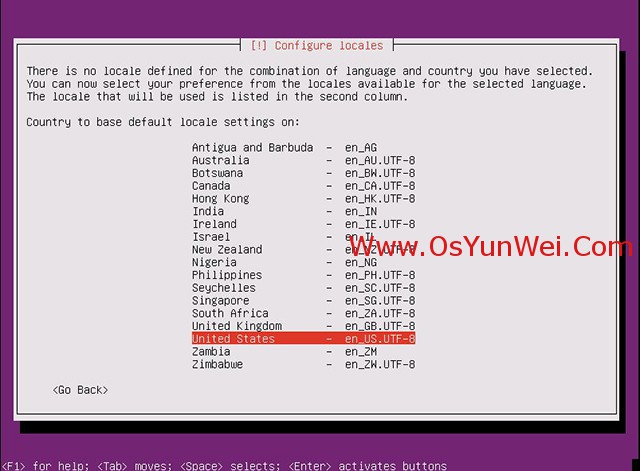
配置键盘,选择 United States
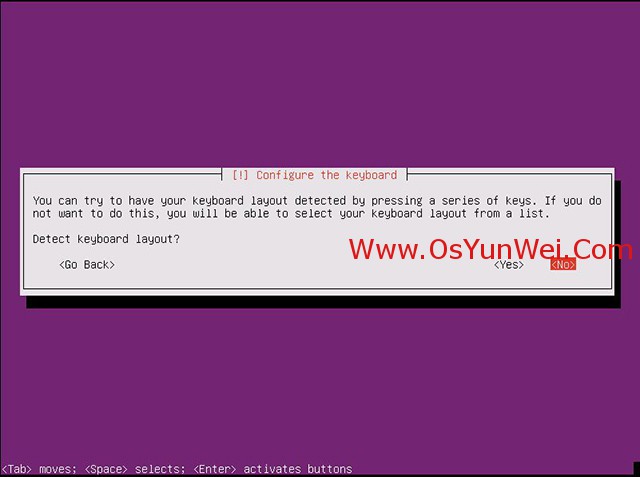
选择“No”默认键盘模式
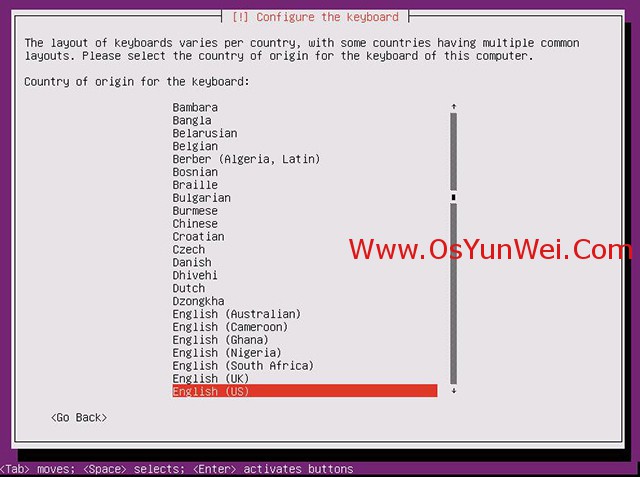
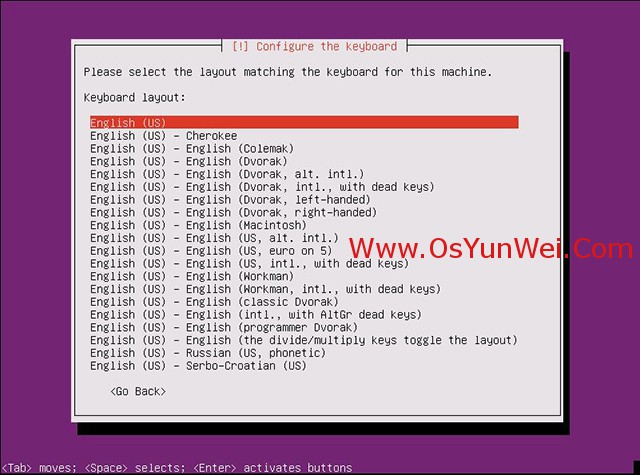
确认使用美式键盘

设置主机名字,设置为ubuntu或者webserver都可以,此处设置的名称在系统登录界面显示。
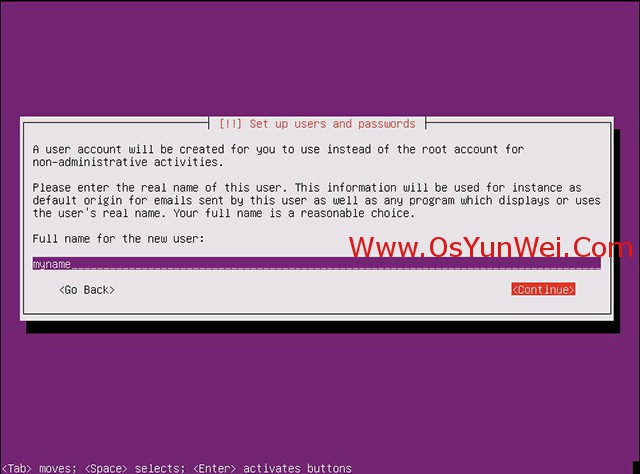
创建新用户:输入新用户全名(注意:不是登录账号,相当于描述)
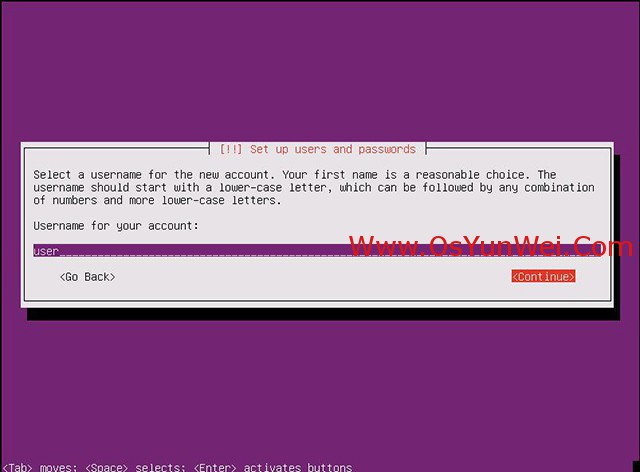
创建登录用户名(用此账号来登录系统)
#系统安装过程中创建的这个用户属于管理员用户,并非普通用户
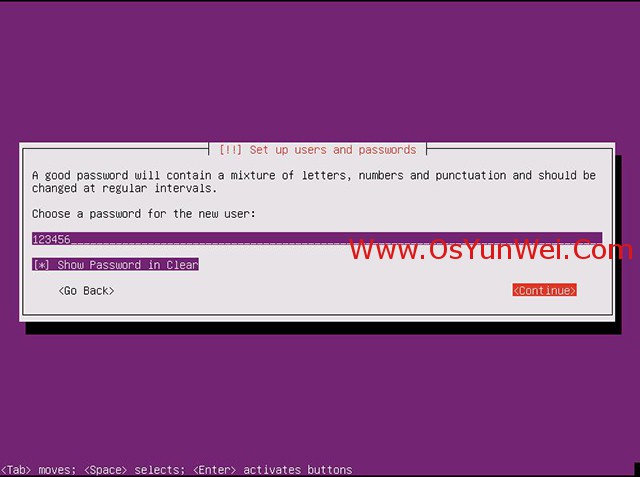
设置密码
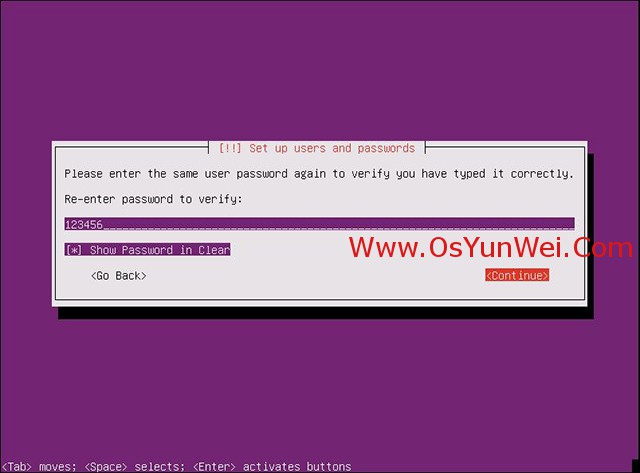
再次输入密码
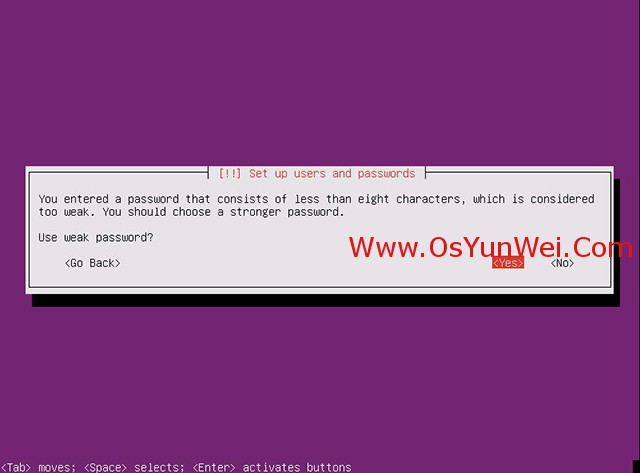
密码复杂性验证,选择Yes,也可以选No重新设置复杂的密码。
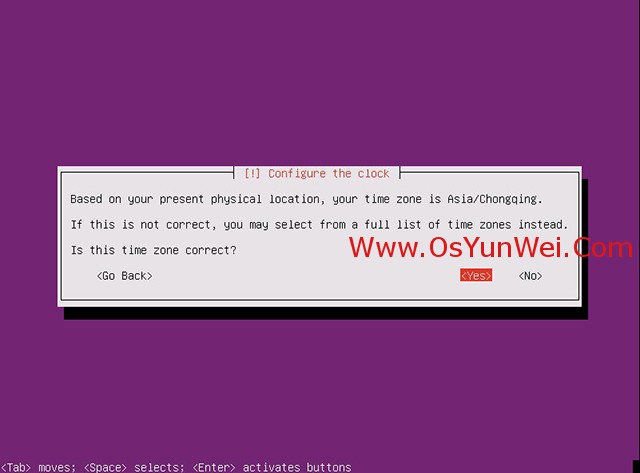
确认时区,选择Yes
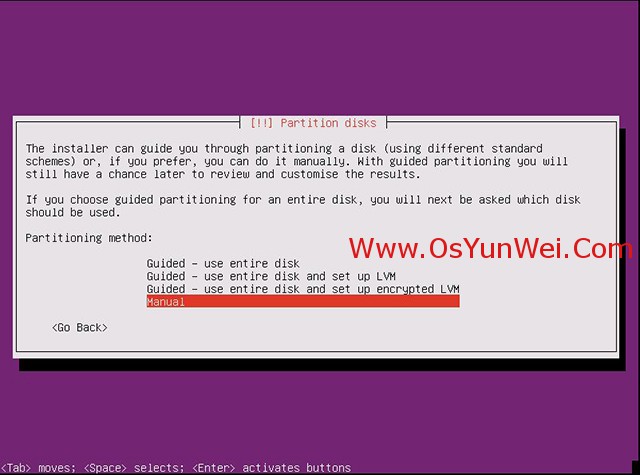
选择磁盘分区的方法,这里选Manual手动分区
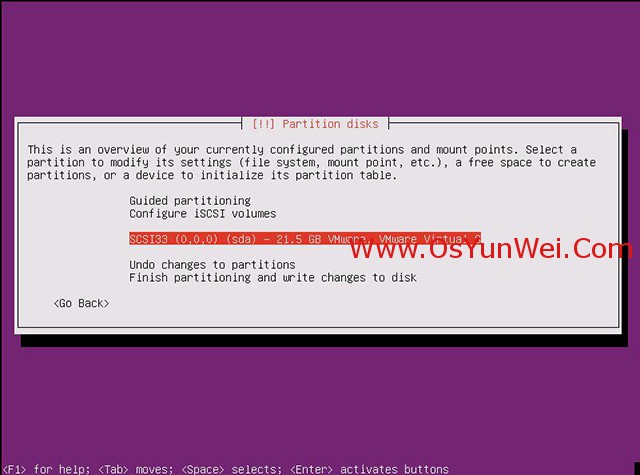
分区向导,选择需要安装的磁盘
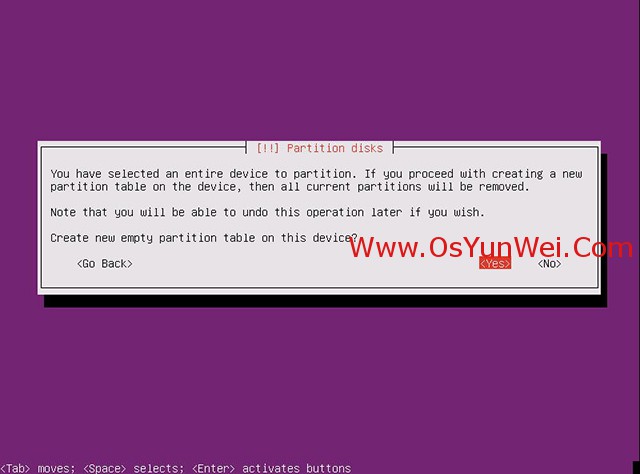
Yes
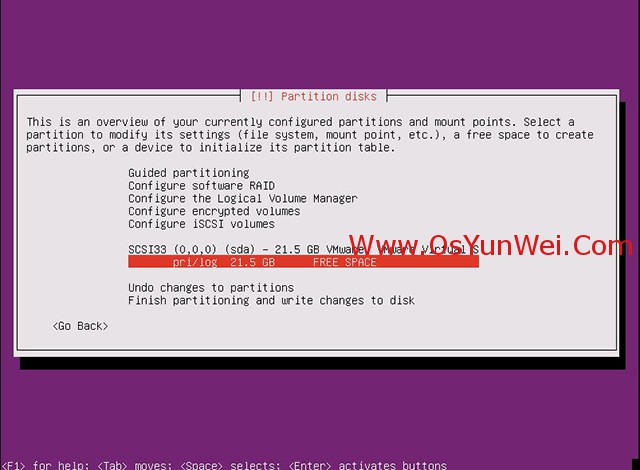
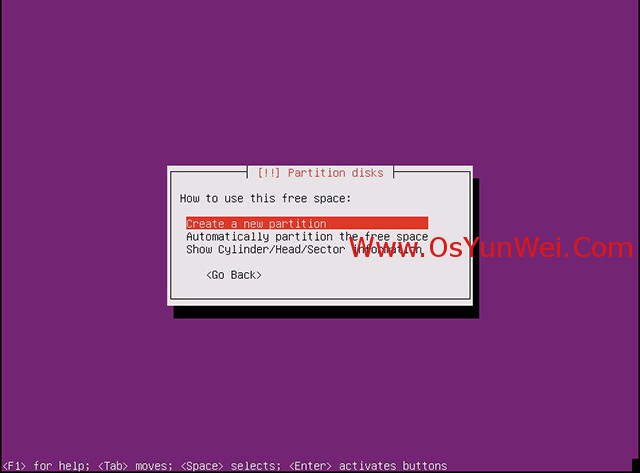
可以看到上面所选磁盘的容量信息,点击磁盘空闲空间,我这里磁盘大小是21.5G
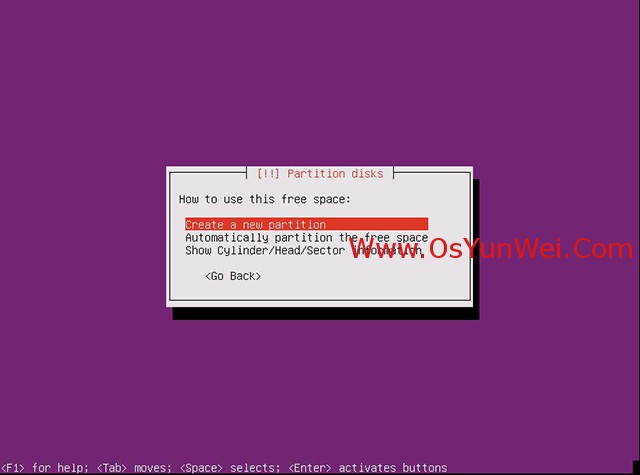
创建新分区

创建一个swap分区,容量4GB

类型选择主分区
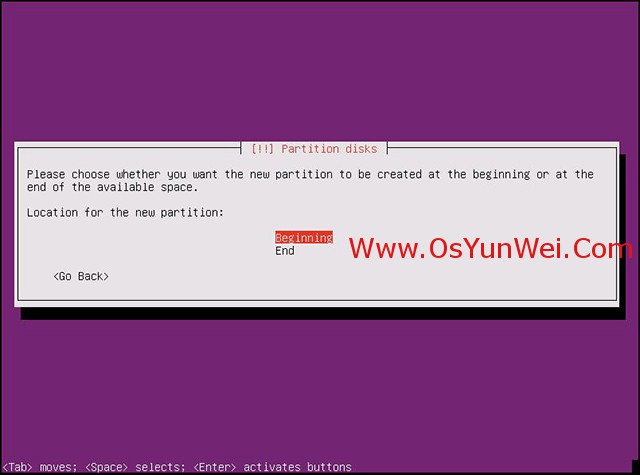
开始
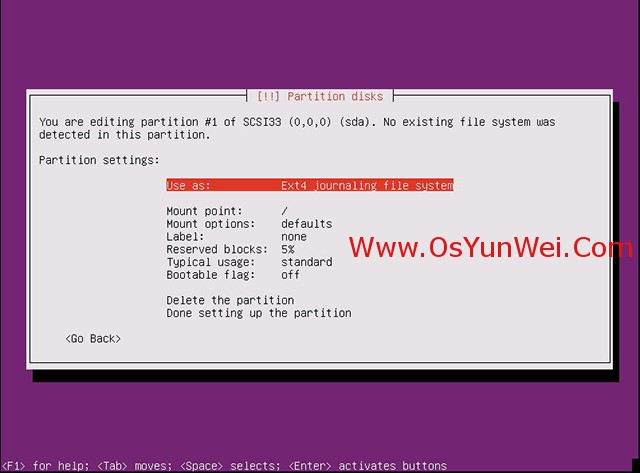
选择“EXT4日志文件系统”
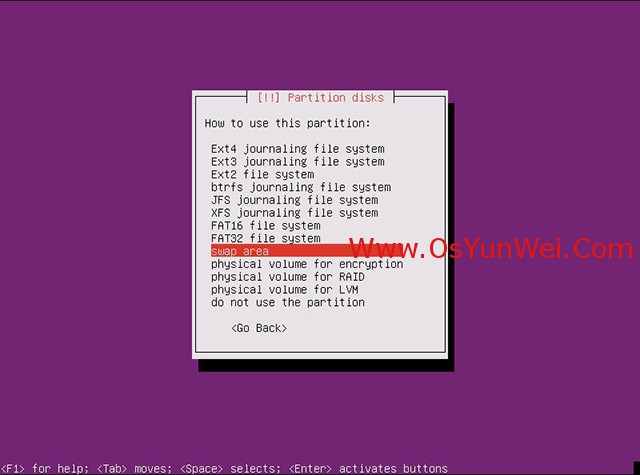
挂载点:选择swap area交换分区
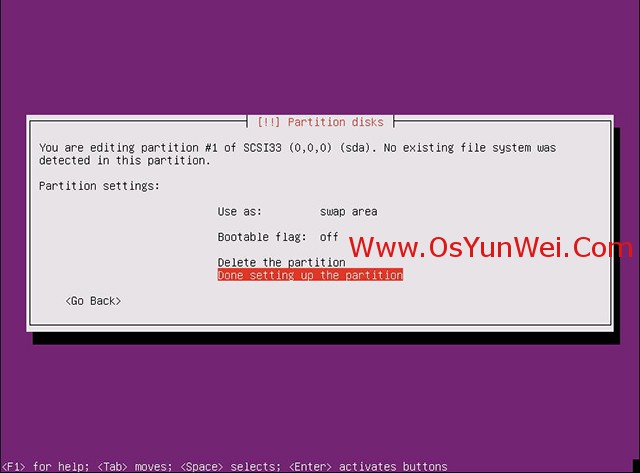
分区设定结束
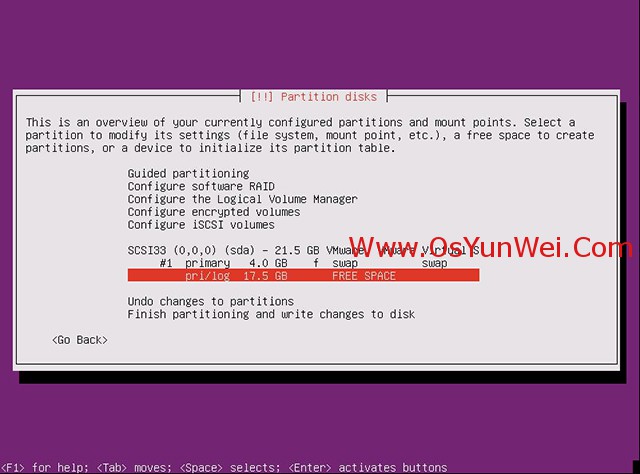
继续选择空闲空间, 创建新分区
创建新分区

分区大小:17.5GB
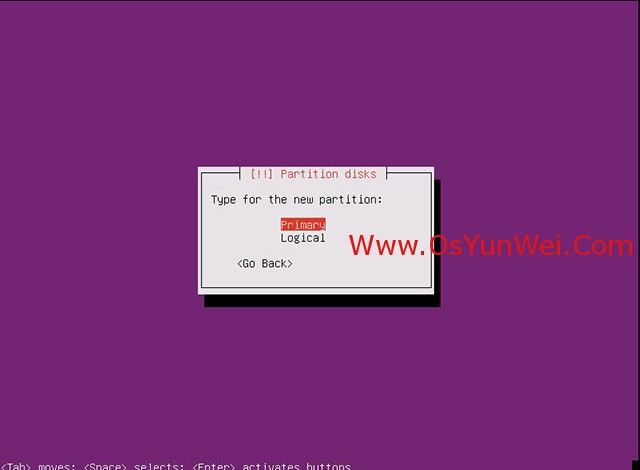
主分区
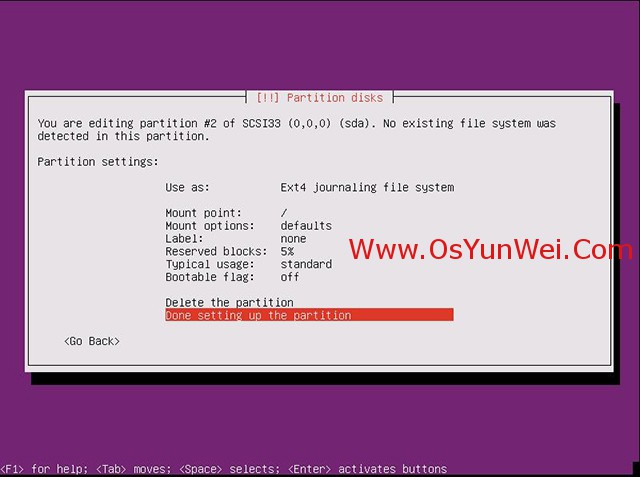
选择“EXT4日志文件系统”
挂载点:选择/根分区
分区设定结束
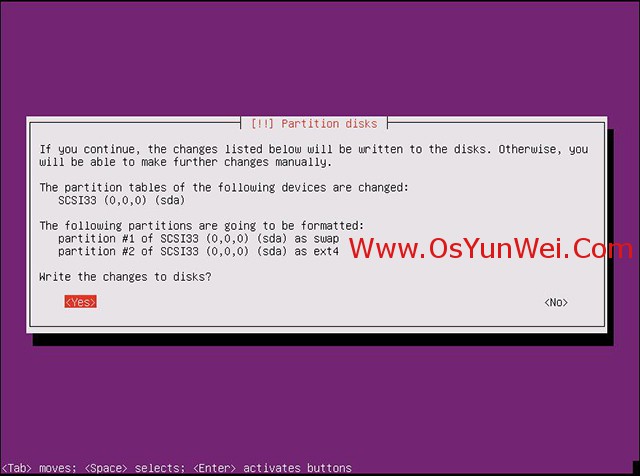
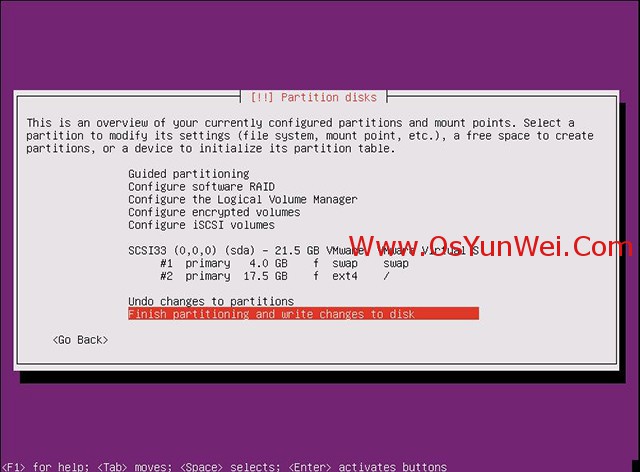
选择Yes 将修改写入磁盘

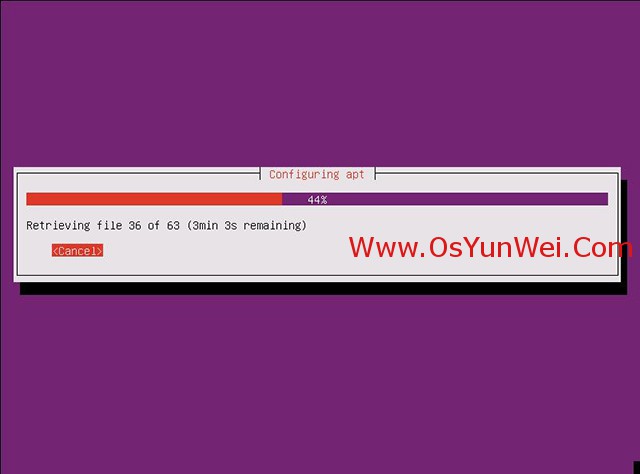
是否使用代理,默认继续
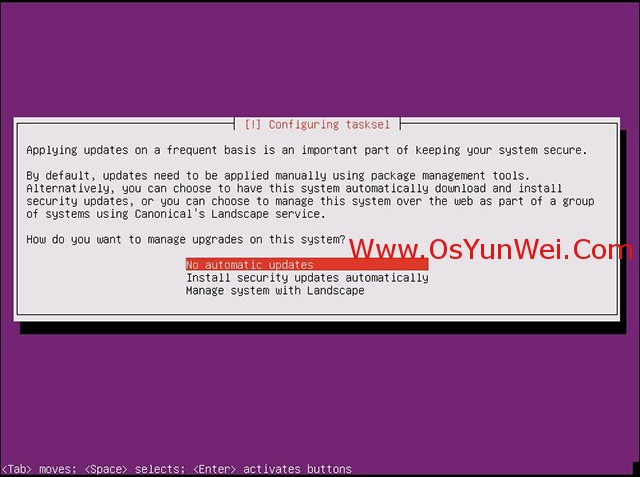
是否自动更新,这里选择第一项,不自动更新。
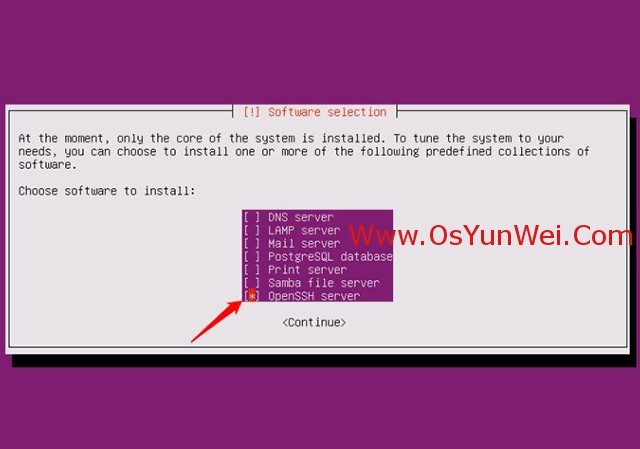
用空格选择:OpenSSH server,便于安装完成后远程连接服务器
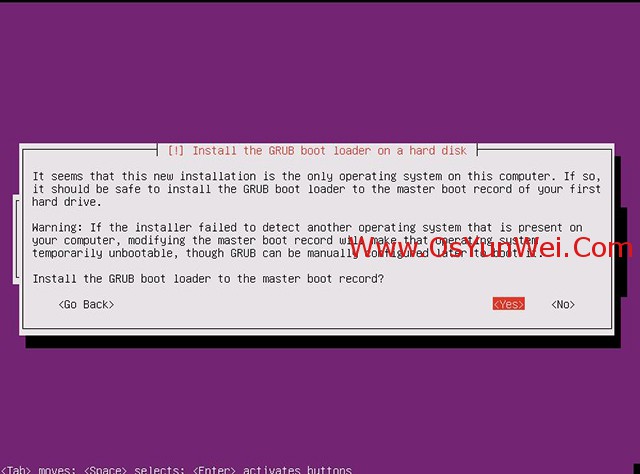
将GRUB安装至硬盘,默认Yes
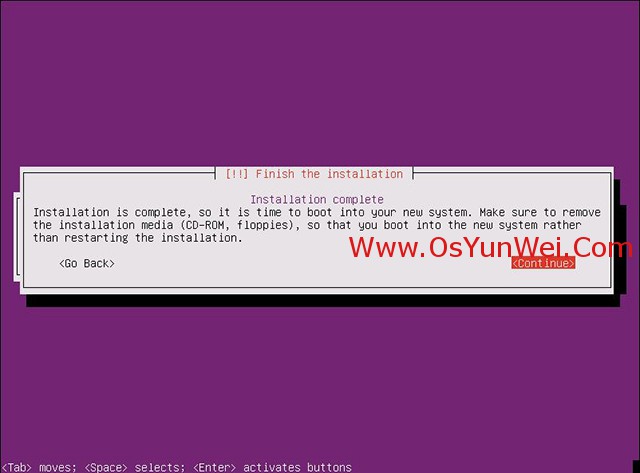
继续,系统自动重启
进入登陆界面
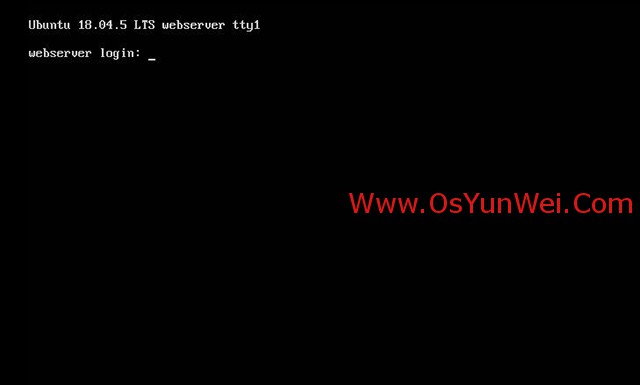
二、开启root账号
输入上面设置的管理员用户名:user
再输入密码123456登录系统
sudo passwd root #启用root账号并设置密码,根据提示输入2次密码
su root #从普通用户切换到root用户,根据提示输入root密码
sudo passwd -l root #禁用root账号,如果要启用,输入sudo passwd root再次设置root密码


adduser osyunwei #创建一个普通用户
groups osyunwei #查看用户组信息
usermod -g root osyunwei #修改用户组为root组
cat /etc/sudoers #查看用户信息
cat /etc/passwd
cat /etc/group
cat /etc/gshadow
cat /etc/shadow
userdel osyunwei #删除osyunwei用户
rm -rf /home/osyunwei
halt -p #关机,不加参数-p会进入休眠状态,卡在关机界面
三、设置IP地址、网关、DNS
Ubuntu Server17.10 开始,弃用 /etc/network/interfaces 配置文件,改成 netplan ⽅式,配置⽂件是:/etc/netplan/01-netcfg.yaml
nano /etc/netplan/01-netcfg.yaml
# This file describes the network interfaces available on your system
# For more information, see netplan(5).
network:
version: 2
renderer: networkd
ethernets:
ens33:
dhcp4: no
addresses: [192.168.21.180/24]
gateway4: 192.168.21.2
nameservers:
addresses: [8.8.8.8]
addresses: [8.8.4.4]
ctrl+o #保存配置
ctrl+x #退出
netplan apply #使配置文件生效

注意:yaml格式是层级的,配置文件有上下级关系,需要缩进,冒号后面的配置文件一定要空一格再写,否则配置出错。
ip addr #查看IP地址
apt install ifupdown #安装ifupdown软件包
ifdown ens33 #关闭网络
ifup ens33 #启动网络
dpkg -l | grep ssh #检查是否安装了ssh-server服务
apt-get install openssh-server #安装ssh远程管理服务
四、修改主机名
nano /etc/hostname #编辑
ctrl+o #保存配置
ctrl+x #退出
五、设置root账号ssh远程登录
默认不允许root用户直接远程登录,如果需要可以开启
nano /etc/ssh/sshd_config
#PermitRootLogin prohibit-password #默认为禁⽌登录
PermitRootLogin yes #改为允许登录
ctrl+o #保存配置
ctrl+x #退出
systemctl restart sshd #重启ssh服务
/etc/init.d/ssh restart
service ssh restart
六、更改网卡名称为eth*模式
默认安装完成之后,服务器网卡为ens模式,这台服务器是ens33,我们修改为eth模式。
cp /etc/default/grub /etc/default/grub-bak #备份配置文件
sed -i '/GRUB_CMDLINE_LINUX=/s/"$/net.ifnames=0 biosdevname=0"/' /etc/default/grub #修改文件
其实就是修改/etc/default/grub文件里面的参数
GRUB_CMDLINE_LINUX="net.ifnames=0 biosdevname=0"
update-grub #使配置文件生效
cp /etc/netplan/01-netcfg.yaml /etc/netplan/01-netcfg.yaml-bak #备份配置文件
sed -i 's/ens33/eth0/' /etc/netplan/01-netcfg.yaml #替换ens33为eth0
reboot #重启系统
七、修改默认软件源
cp /etc/apt/sources.list /etc/apt/sources.list-bak #备份默认源文件
nano /etc/apt/sources.list #编辑
deb https://mirrors.ustc.edu.cn/ubuntu/ bionic main restricted universe multiverse
# deb-src https://mirrors.ustc.edu.cn/ubuntu/ bionic main restricted universe multiverse
deb https://mirrors.ustc.edu.cn/ubuntu/ bionic-security main restricted universe multiverse
# deb-src https://mirrors.ustc.edu.cn/ubuntu/ bionic-security main restricted universe multiverse
deb https://mirrors.ustc.edu.cn/ubuntu/ bionic-updates main restricted universe multiverse
# deb-src https://mirrors.ustc.edu.cn/ubuntu/ bionic-updates main restricted universe multiverse
deb https://mirrors.ustc.edu.cn/ubuntu/ bionic-backports main restricted universe multiverse
# deb-src https://mirrors.ustc.edu.cn/ubuntu/ bionic-backports main restricted universe multiverse
deb http://archive.ubuntu.com/ubuntu/ bionic main universe restricted multiverse
# 未发布软件源,不建议启用
# deb https://mirrors.ustc.edu.cn/ubuntu/ bionic-proposed main restricted universe multiverse
# deb-src https://mirrors.ustc.edu.cn/ubuntu/ bionic-proposed main restricted universe multiverse
ctrl+o #保存配置
ctrl+x #退出
apt-get update #更新软件源索引
如要用于其他版本,把 bionic 换成其他版本代号即可: 20.04:focal;18.04:bionic;16.04:xenial;14.04:trusty
八、系统参数优化
1、nano /etc/security/limits.conf #编辑添加以下优化信息
#root
root soft core unlimited
root hard core unlimited
root soft nproc 1000000
root hard nproc 1000000
root soft nofile 1000000
root hard nofile 1000000
root soft memlock 32000
root hard memlock 32000
root soft msgqueue 8192000
root hard msgqueue 8192000
#*
* soft core unlimited
* hard core unlimited
* soft nproc 1000000
* hard nproc 1000000
* soft nofile 1000000
* hard nofile 1000000
* soft memlock 32000
* hard memlock 32000
* soft msgqueue 8192000
* hard msgqueue 8192000
ctrl+o #保存配置
ctrl+x #退出
2、nano /etc/sysctl.conf #编辑添加以下优化参数
# Controls source route verification
net.ipv4.conf.default.rp_filter = 1
net.ipv4.ip_nonlocal_bind = 1
net.ipv4.ip_forward = 1
# Do not accept source routing
net.ipv4.conf.default.accept_source_route = 0
# Controls the System Request debugging functionality of the kernel
kernel.sysrq = 0
# Controls whether core dumps will append the PID to the core filename.
# Useful for debugging multi-threaded applications.
kernel.core_uses_pid = 1
# Controls the use of TCP syncookies
net.ipv4.tcp_syncookies = 1
# Disable netfilter on bridges.
# Controls the default maxmimum size of a mesage queue
kernel.msgmnb = 65536
# # Controls the maximum size of a message, in bytes
kernel.msgmax = 65536
# Controls the maximum shared segment size, in bytes
kernel.shmmax = 68719476736
# # Controls the maximum number of shared memory segments, in pages
kernel.shmall = 4294967296
# TCP kernel paramater
net.ipv4.tcp_mem = 786432 1048576 1572864
net.ipv4.tcp_rmem = 4096 87380 4194304
net.ipv4.tcp_wmem = 4096 16384 4194304
net.ipv4.tcp_window_scaling = 1
net.ipv4.tcp_sack = 1
# socket buffer
net.core.wmem_default = 8388608
net.core.rmem_default = 8388608
net.core.rmem_max = 16777216
net.core.wmem_max = 16777216
net.core.netdev_max_backlog = 262144
net.core.somaxconn = 20480
net.core.optmem_max = 81920
# TCP conn
net.ipv4.tcp_max_syn_backlog = 262144
net.ipv4.tcp_syn_retries = 3
net.ipv4.tcp_retries1 = 3
net.ipv4.tcp_retries2 = 15
# tcp conn reuse
net.ipv4.tcp_timestamps = 0
net.ipv4.tcp_tw_reuse = 0
net.ipv4.tcp_fin_timeout = 1
net.ipv4.tcp_max_tw_buckets = 20000
net.ipv4.tcp_max_orphans = 3276800
net.ipv4.tcp_synack_retries = 1
net.ipv4.tcp_syncookies = 1
# keepalive conn
net.ipv4.tcp_keepalive_time = 300
net.ipv4.tcp_keepalive_intvl = 30
net.ipv4.tcp_keepalive_probes = 3
net.ipv4.ip_local_port_range = 10001 65000
# swap
vm.overcommit_memory = 0
vm.swappiness = 10
#net.ipv4.conf.eth1.rp_filter = 0
#net.ipv4.conf.lo.arp_ignore = 1
#net.ipv4.conf.lo.arp_announce = 2
#net.ipv4.conf.all.arp_ignore = 1
#net.ipv4.conf.all.arp_announce = 2
ctrl+o #保存配置
ctrl+x #退出
/sbin/sysctl -p #使配置立即生效
至此,Ubuntu Server 18.04.5 LTS安装配置图解教程完成。

 ②190706903 ③203744115